github.io 블로그 튜토리얼 - (2) 블로그 단장하기
이전 포스팅 바로가기
(1) 시작하기
(2) 블로그 단장하기
초기 설정을 끝냈으면, 이제 블로그를 쓸만하게 다듬는 작업이 필요합니다. 이번 포스트에서는 기본적인 config 설정, 색상 바꾸기, 댓글, 조회수 카운터를 설정하는 방법에 대해 작성합니다.
Config 설정하기
config.yml 설정
_config.yml 파일에서 사이트 configuration 설정을 할 수 있습니다. 기본적으로 변경해야하는 것들 위주로만 변경했습니다.
1
2
3
4
5
6
7
8
9
10
11
12
13
14
15
16
17
18
19
20
21
22
23
24
25
26
27
28
29
30
31
32
33
34
lang: ko
timezone: Asia/Seoul # 시간대를 설정합니다.

title: Tools in hand, brain in gear # 메인 타이틀로, 브라우저 탭에 표시됩니다.

tagline: Backend Engineer # 사이드바 프로필 이름 밑에 이탈릭체로 표시됩니다.

description: >- # seo meta 정보에 사용됩니다.(링크 공유 시 하단에도 나옵니다.)
  Shurimp's Tech Blog.

# Fill in the protocol & hostname for your site.
# e.g. 'https://username.github.io', note that it does not end with a '/'.
url: "https://shurimp.com" # 블로그 주소

github:
  username: shu-rimp # change to your github username

# 사용하지 않는 sns는 주석처리 합니다.
# twitter:
#   username: twitter_username # change to your twitter username

# 사용하지 않는 sns는 주석처리 합니다.
social:
  # Change to your full name.
  # It will be displayed as the default author of the posts and the copyright owner in the Footer
  name: shurimp
  email: soooojip@gmail.com # change to your email address
  links:
    # The first element serves as the copyright owner's link
    # - https://twitter.com/username # change to your twitter homepage
    - https://github.com/shu-rimp # change to your github homepage
    # Uncomment below to add more social links
    # - https://www.facebook.com/username
    # - https://www.linkedin.com/in/username
상단에서 설정할 수 있는 항목들이고, 하단 설정은 밑에서 설명합니다.
authors.yml 설정
_data/authors.yaml 파일에 글의 작성자 정보를 저장합니다. 이 파일에 정보를 저장해놓고 포스팅할 때 상단 메타 정보에서 불러올 수 있습니다.
1
2
3
shurimp:
  name: shurimp
  url: https://github.com/shu-rimp
 이 부분에 보여집니다.
contact.yml 설정
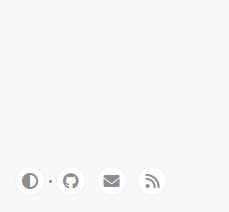 사이드바 하단
사이드바에 원하는 링크를 표시하고 싶다면, _data/contact.yml 파일에서 보여주고 싶은 옵션만 남기고 주석처리 하면 됩니다.
1
2
3
4
5
6
7
#  The contact options.

- type: github
  icon: "fab fa-github"

# - type: twitter
#   icon: "fa-brands fa-x-twitter"
이외 _data/share.yml에서는 링크 공유 옵션을 조절할 수 있습니다.
프로필 정보 수정
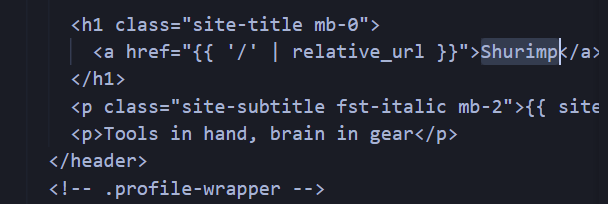
기본으로 블로그 메인 타이틀이 프로필 이름으로 보여지게 되어있는데, 프로필 이름만 따로 설정하고 싶을 경우 _includes/sidebar.html에서 해당 부분을 직접 편집하면 됩니다. (파일 상단에 위치해 있습니다.)
이탤릭체 밑에 글을 더 추가하고 싶을 때도 하단에 적고 싶은 문구를 추가하면 반영됩니다.
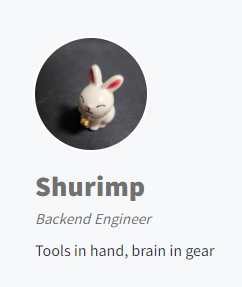 이렇게 보여집니다.
favicon 설정
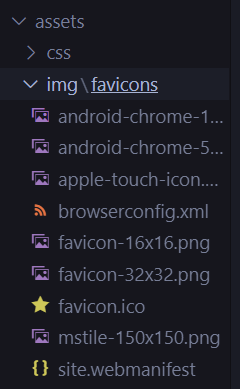
favicon generator에서 간단한 파비콘을 제작할 수 있습니다. 다운로드 받은 zip파일 압축을 해제하고 모든 파일을 assets/img/favicons 디렉토리 안에 대체합니다.
블로그 색상 변경
기본 디자인이 매우 마음에 들기 때문에 따로 수정은 하고 싶지 않은데, 링크와 태그 호버 색상이 너무 당황스럽게 빨강 파랑이라 거슬려서 변경합니다.
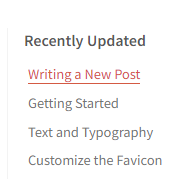 당황스러운 빨강
 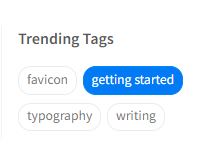 당황스러운 파랑
대부분 색상 변경은 _sass/colors 디렉토리 내에 .scss 파일을 수정하면 반영되는데, 이 둘을 설정하는 파일은 이 디렉토리에 없어서 좀 헤맸습니다.
링크 호버 색상 변경
_sass/addon/module.scss 파일에서 %link-hover 블록을 수정합니다. !important 옵션을 넣어주어야 반영됩니다. 보라색을 좋아하기 때문에 보라색으로 설정했습니다.
1
2
3
4
5
%link-hover {
  color: #7f52ff !important;
  border-bottom: 1px solid #7f52ff;
  text-decoration: none;
}
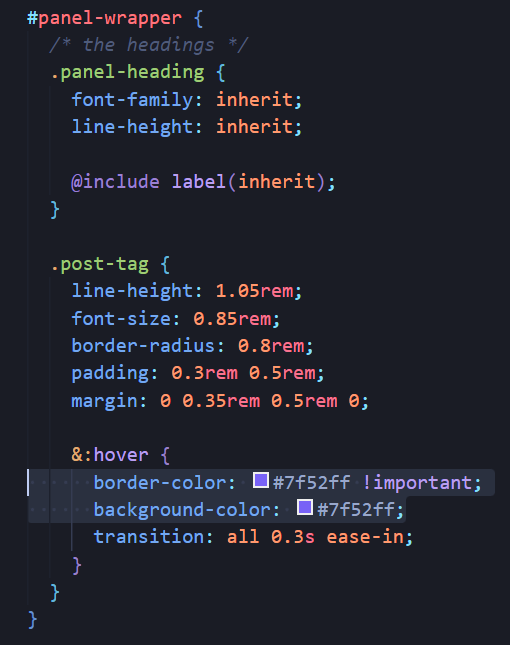
포스트 태그 호버 색상 변경
_sass/addon/commons.scss 파일에서 post-tag 블록을 수정합니다. #panel-wrapper 블록 내에 위치합니다. border-color의 경우 !important 추가해야 반영됩니다.
기타 색상 변경
이외 색상 변경은 _sass/colors 디렉토리의 .scss 파일을 수정합니다. 거의 링크 색깔만 바꿨는데, 우측 바로가기 메뉴 색상은 --toc-highlight에서 설정할 수 있습니다. -dark.scss는 다크모드일 때의 색상, -light.scss는 라이트모드일 때의 색상으로 두 군데 모두 바꿔주는 것이 좋습니다.
댓글 설정하기
사람들이 포스트에 댓글을 달 수 있는 기능을 추가합니다. disqus, utterances, giscus 등이 있는데, 요즘 가장 많이 사용하는 utterances를 사용했습니다. chirpy의 경우, 세 가지 모두 지원하기 때문에 간편하게 설정할 수 있습니다.
그 전에 먼저 이슈와 라벨 설정을 합니다. utterances는 깃허브 이슈를 생성하는 방식으로 댓글을 등록합니다.
깃허브에서 이슈가 활성화되어있는지 체크합니다.
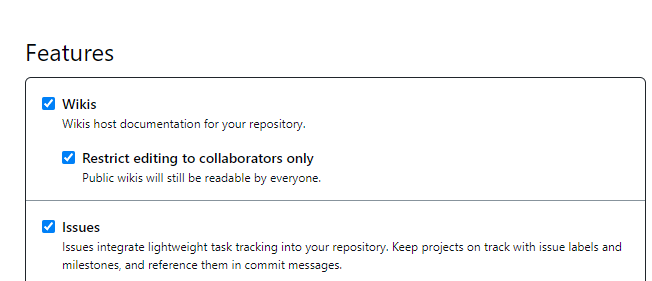
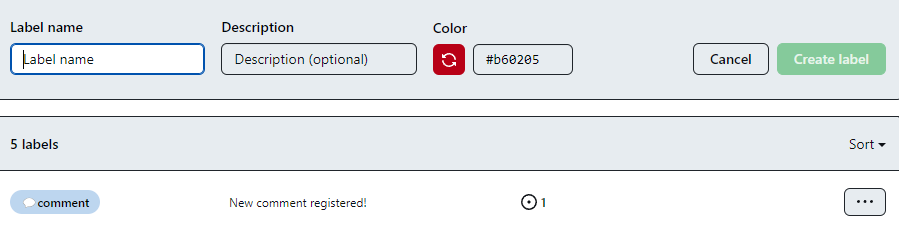
Issues 탭에서 새 라벨을 생성합니다. 이 과정은 생략해도 되지만 적용해놓으면 다른 이슈들과 구분되어 좀 더 보기 좋습니다.
_config.yml 파일을 편집합니다.
1
2
3
4
5
6
7
8
 comments:
 # Global switch for the post comment system. Keeping it empty means disabled.
 provider: utterances # [disqus | utterances | giscus]
 # The provider options are as follows:
 utterances:
     repo: shu-rimp/shu-rimp.github.io # <gh-username>/<repo>
     issue_term: title # < url | pathname | title | ...>
     label: "💬comment"
provider: utterancesrepo: 레포지토리 이름issue_term: 이슈를 생성할 때 제목의 형식을 지정합니다. url, pathname, title 중 취향에 맞게 선택하면 됩니다.label: 생성한 라벨 명을 입력합니다. 디폴트 파일에는 없는 부분이라 추가해야 합니다.
만약 해당 방식을 사용하지 않고 utterances 사이트에서 직접 스크립트를 생성할 경우 theme이 지정되는데, theme이 정해져있을 경우 라이트/다크모드 전환 시 색상이 바뀌지 않으므로 제거하는 것을 권장합니다.
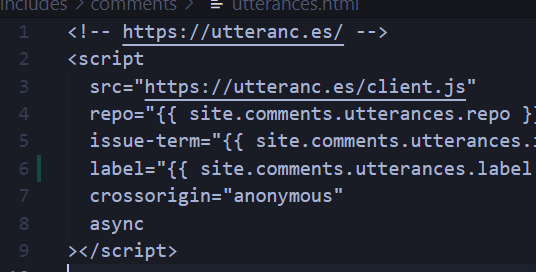
utterances.html 수정
label필드를 추가했기 때문에, 스크립트에서 이를 불러올 수 있도록 수정합니다._includes/comments/utterances.html파일 상단 스크립트 태그에 label을 추가합니다.
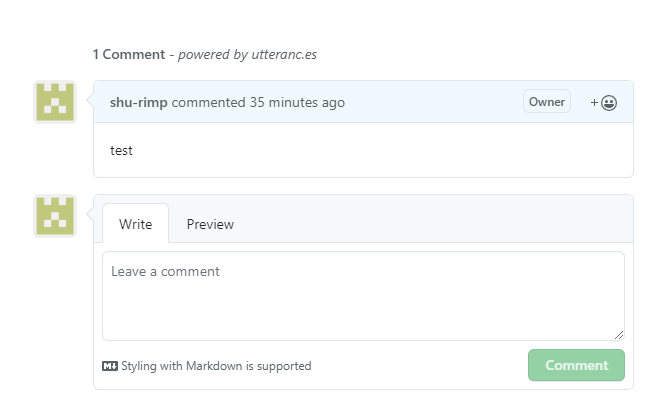
댓글이 잘 생성되는지 확인합니다.
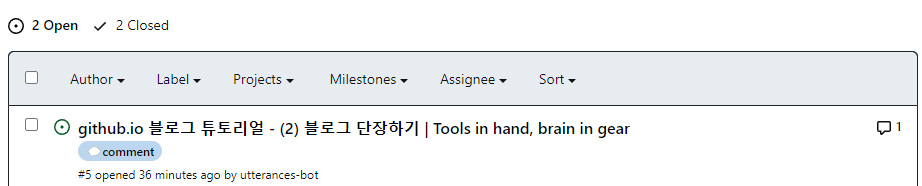 이슈 탭에서는 이렇게 보여집니다.
조회수 카운터 설정하기
조회수 카운터 역시 chirpy에서 지원하는 goatcounter를 사용합니다. 이메일 계정 생성이 필요합니다.
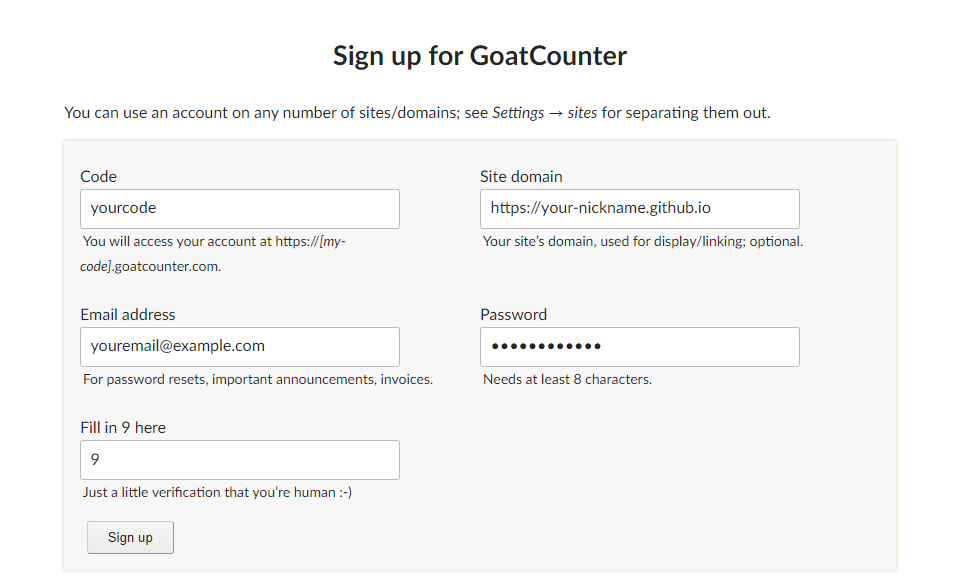
goatcounter 회원가입
https://www.goatcounter.com/signup 링크에서 회원가입 합니다. 가입 후 이메일인증 1회가 필요합니다. Code에는 중복없는 문자를 입력합니다.
settings
우측 상단 Settings 메뉴에서 다음 정보를 입력합니다.
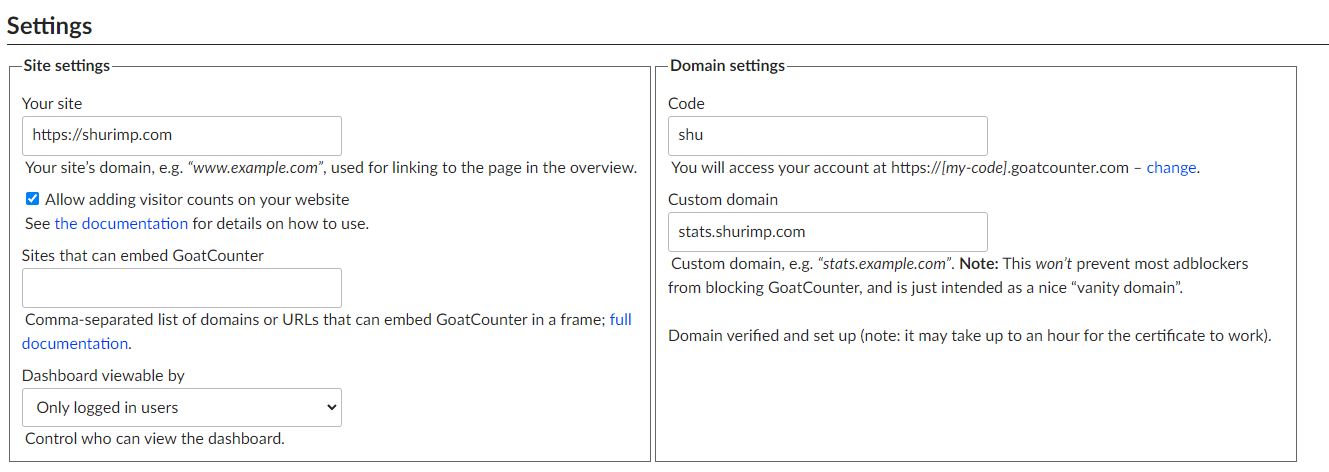
Code에는 회원가입 당시 입력한 Code를 입력하고, Custom Domain이 있을 경우 원하는 서브도메인을 입력합니다._config.yml 파일을 편집합니다.
1
2
3
4
5
6
7
8
9
10
11
12
13
14
15
16
 # Web Analytics Settings
 analytics:
 google:
     id: # fill in your Google Analytics ID
 goatcounter:
     id: shu
 umami:
     id: # fill in your Umami ID
     domain: # fill in your Umami domain
 matomo:
     id: # fill in your Matomo ID
     domain: # fill in your Matomo domain

 # Pageviews settings
 pageviews:
 provider: goatcounter # now only supports 'goatcounter'
goatcounter id에 code, provider에 goatcounter를 입력합니다.
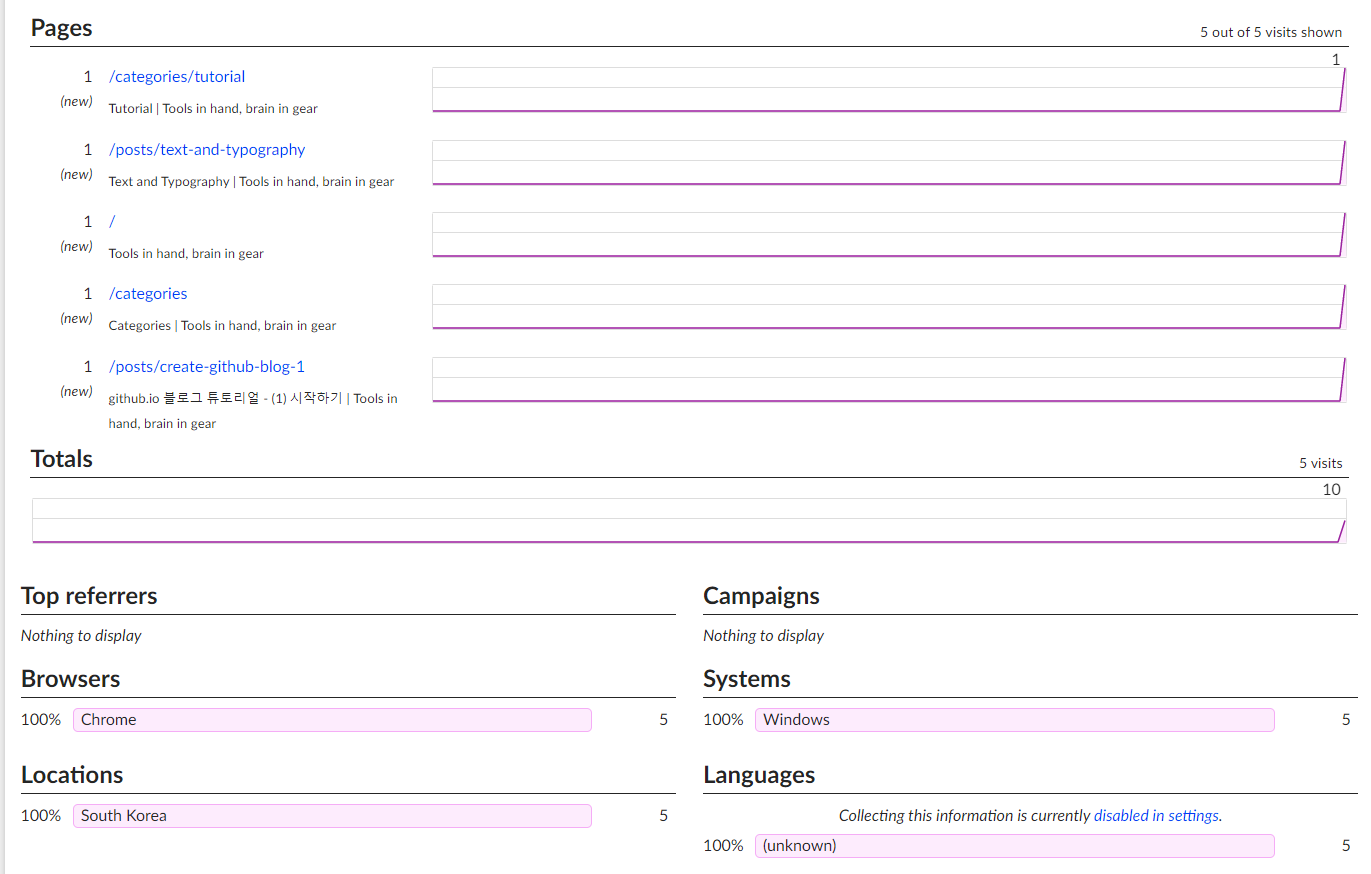
데이터를 확인합니다.
조회수 데이터는 배포한 사이트로 연결했기 때문에 배포 후에 확인할 수 있습니다. 변경사항을 push하고 블로그 접속 후, goatcounter 대시보드로 이동하면 방문 데이터를 확인할 수 있습니다.
 블로그에도 이렇게 조회수가 표시됩니다.
데이터가 뜨지 않을 경우, 브라우저의 adblock 확장프로그램이 원인일 수 있습니다.